A4 comparable provider Chart Transparency: practical guidance for Australian natural therapy clinics · body
Quick answer
An A4 comparable provider chart transparency is a thin, printable overlay of iris-zone markings and labelling sized to A4 (210 × 297 mm) that you place over a captured iris image—on-screen or printed—to compare zones, point out features to a client and document findings. Use it when you want a repeatable, clinic-friendly visual reference during consultations and training. For clinic use choose a matte or low-glare PET transparency at a translucency that lets the iris detail show through without losing contrast, include clear scale and centre marks for reproducible alignment, and ask your printer for registration holes or crosshairs so overlays line up with images every time.
Contents
What an A4 comparable provider chart transparency is and when to use it
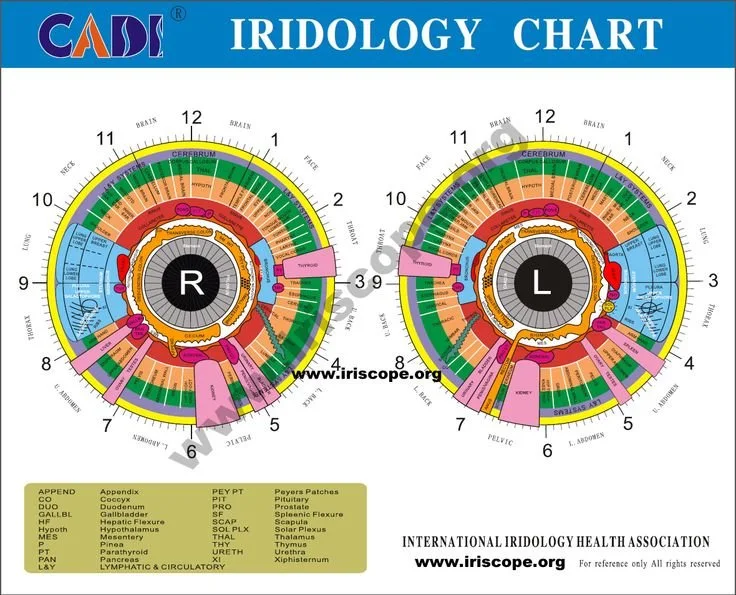
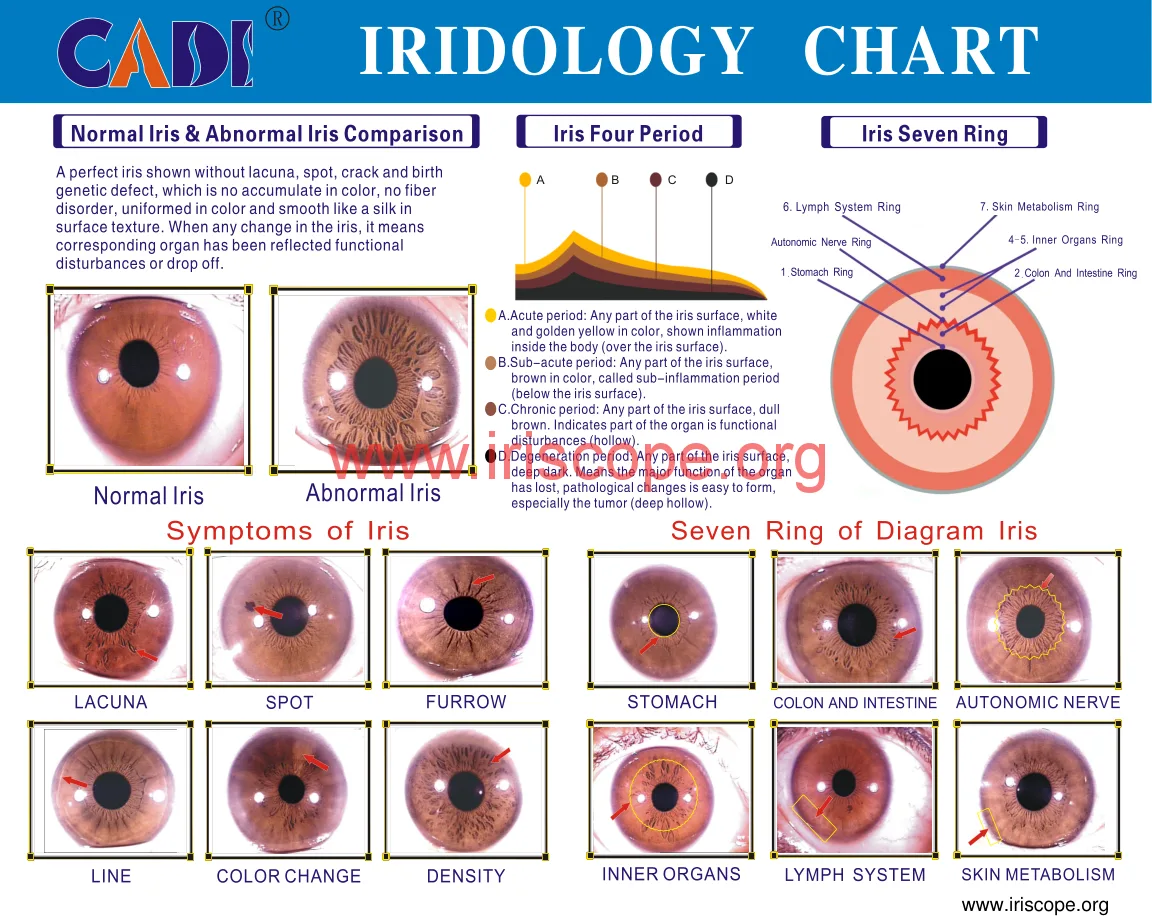
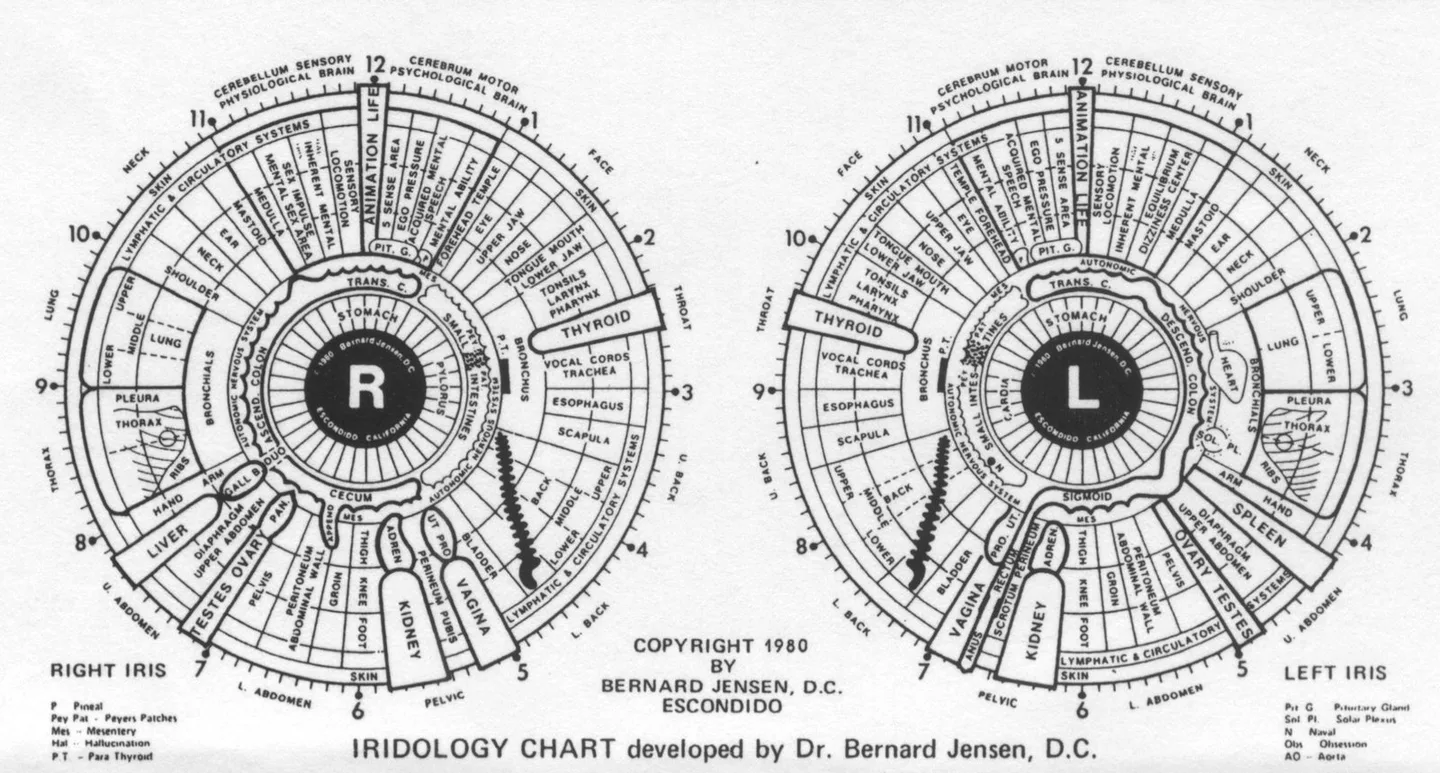
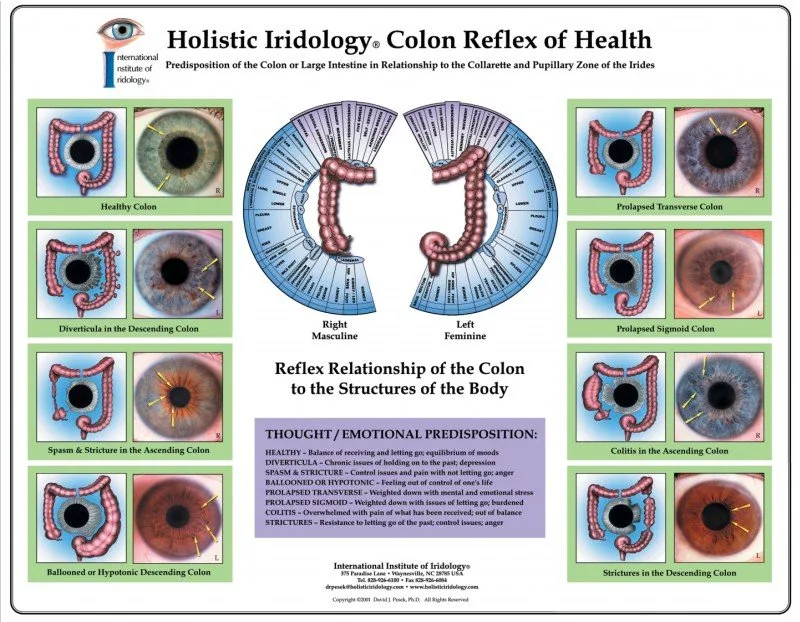
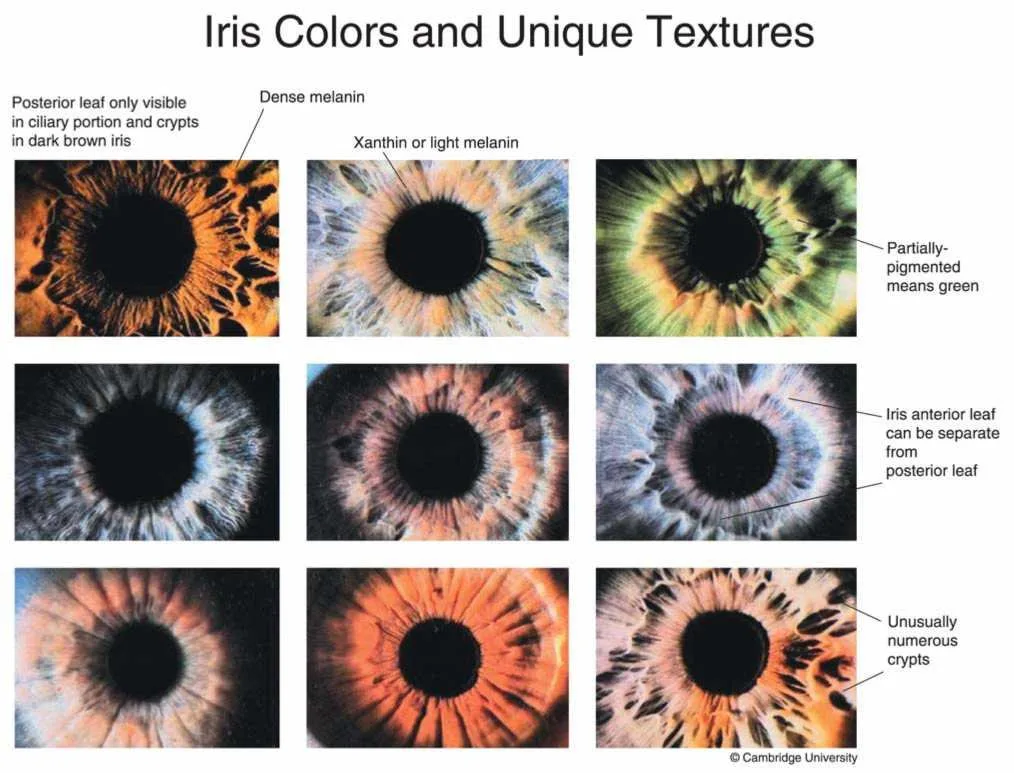
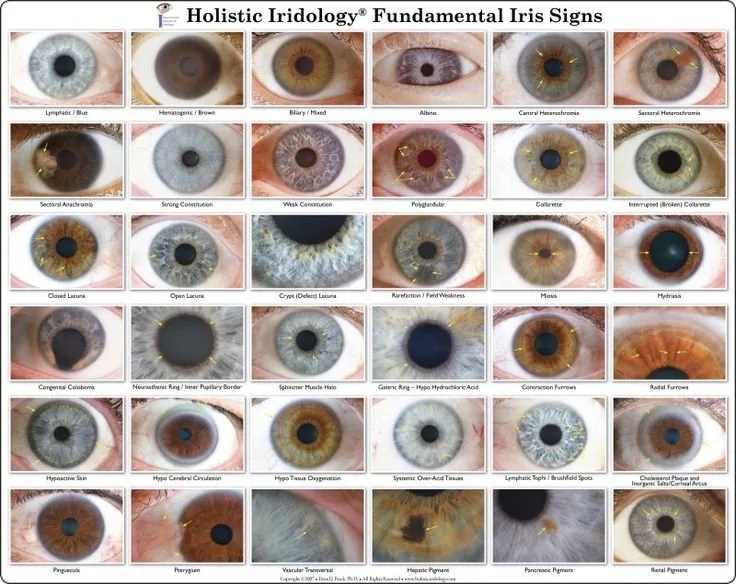
Practically speaking, an A4 comparable provider chart transparency is a transparent sheet printed with the comparable provider zone map, numbered sectors and minimal labels that you can lay over an iris photo. It’s a visual aid—used in consultations, student demonstrations and record-keeping—rather than a diagnostic device. Clinics use it to show clients how a particular iris region corresponds to a zone on the chart, to mark notes on a printout or to compare left/right images side-by-side.
Why A4 format helps natural therapy clinics
A4 fits common printers, clinic folders and client handouts in Australia and is compact enough for desk use. The size is large enough to include a readable zone map and simple labelling without crowding, and it’s economical for small quantities. A4 also makes it straightforward to align with an on-screen image displayed at 100% on a standard monitor or to place directly over an A4 printout of the captured iris image.
What should appear on an A4 comparable provider transparency (minimal clinic-ready elements)
Central registration marks (crosshairs) that locate the pupil centre.
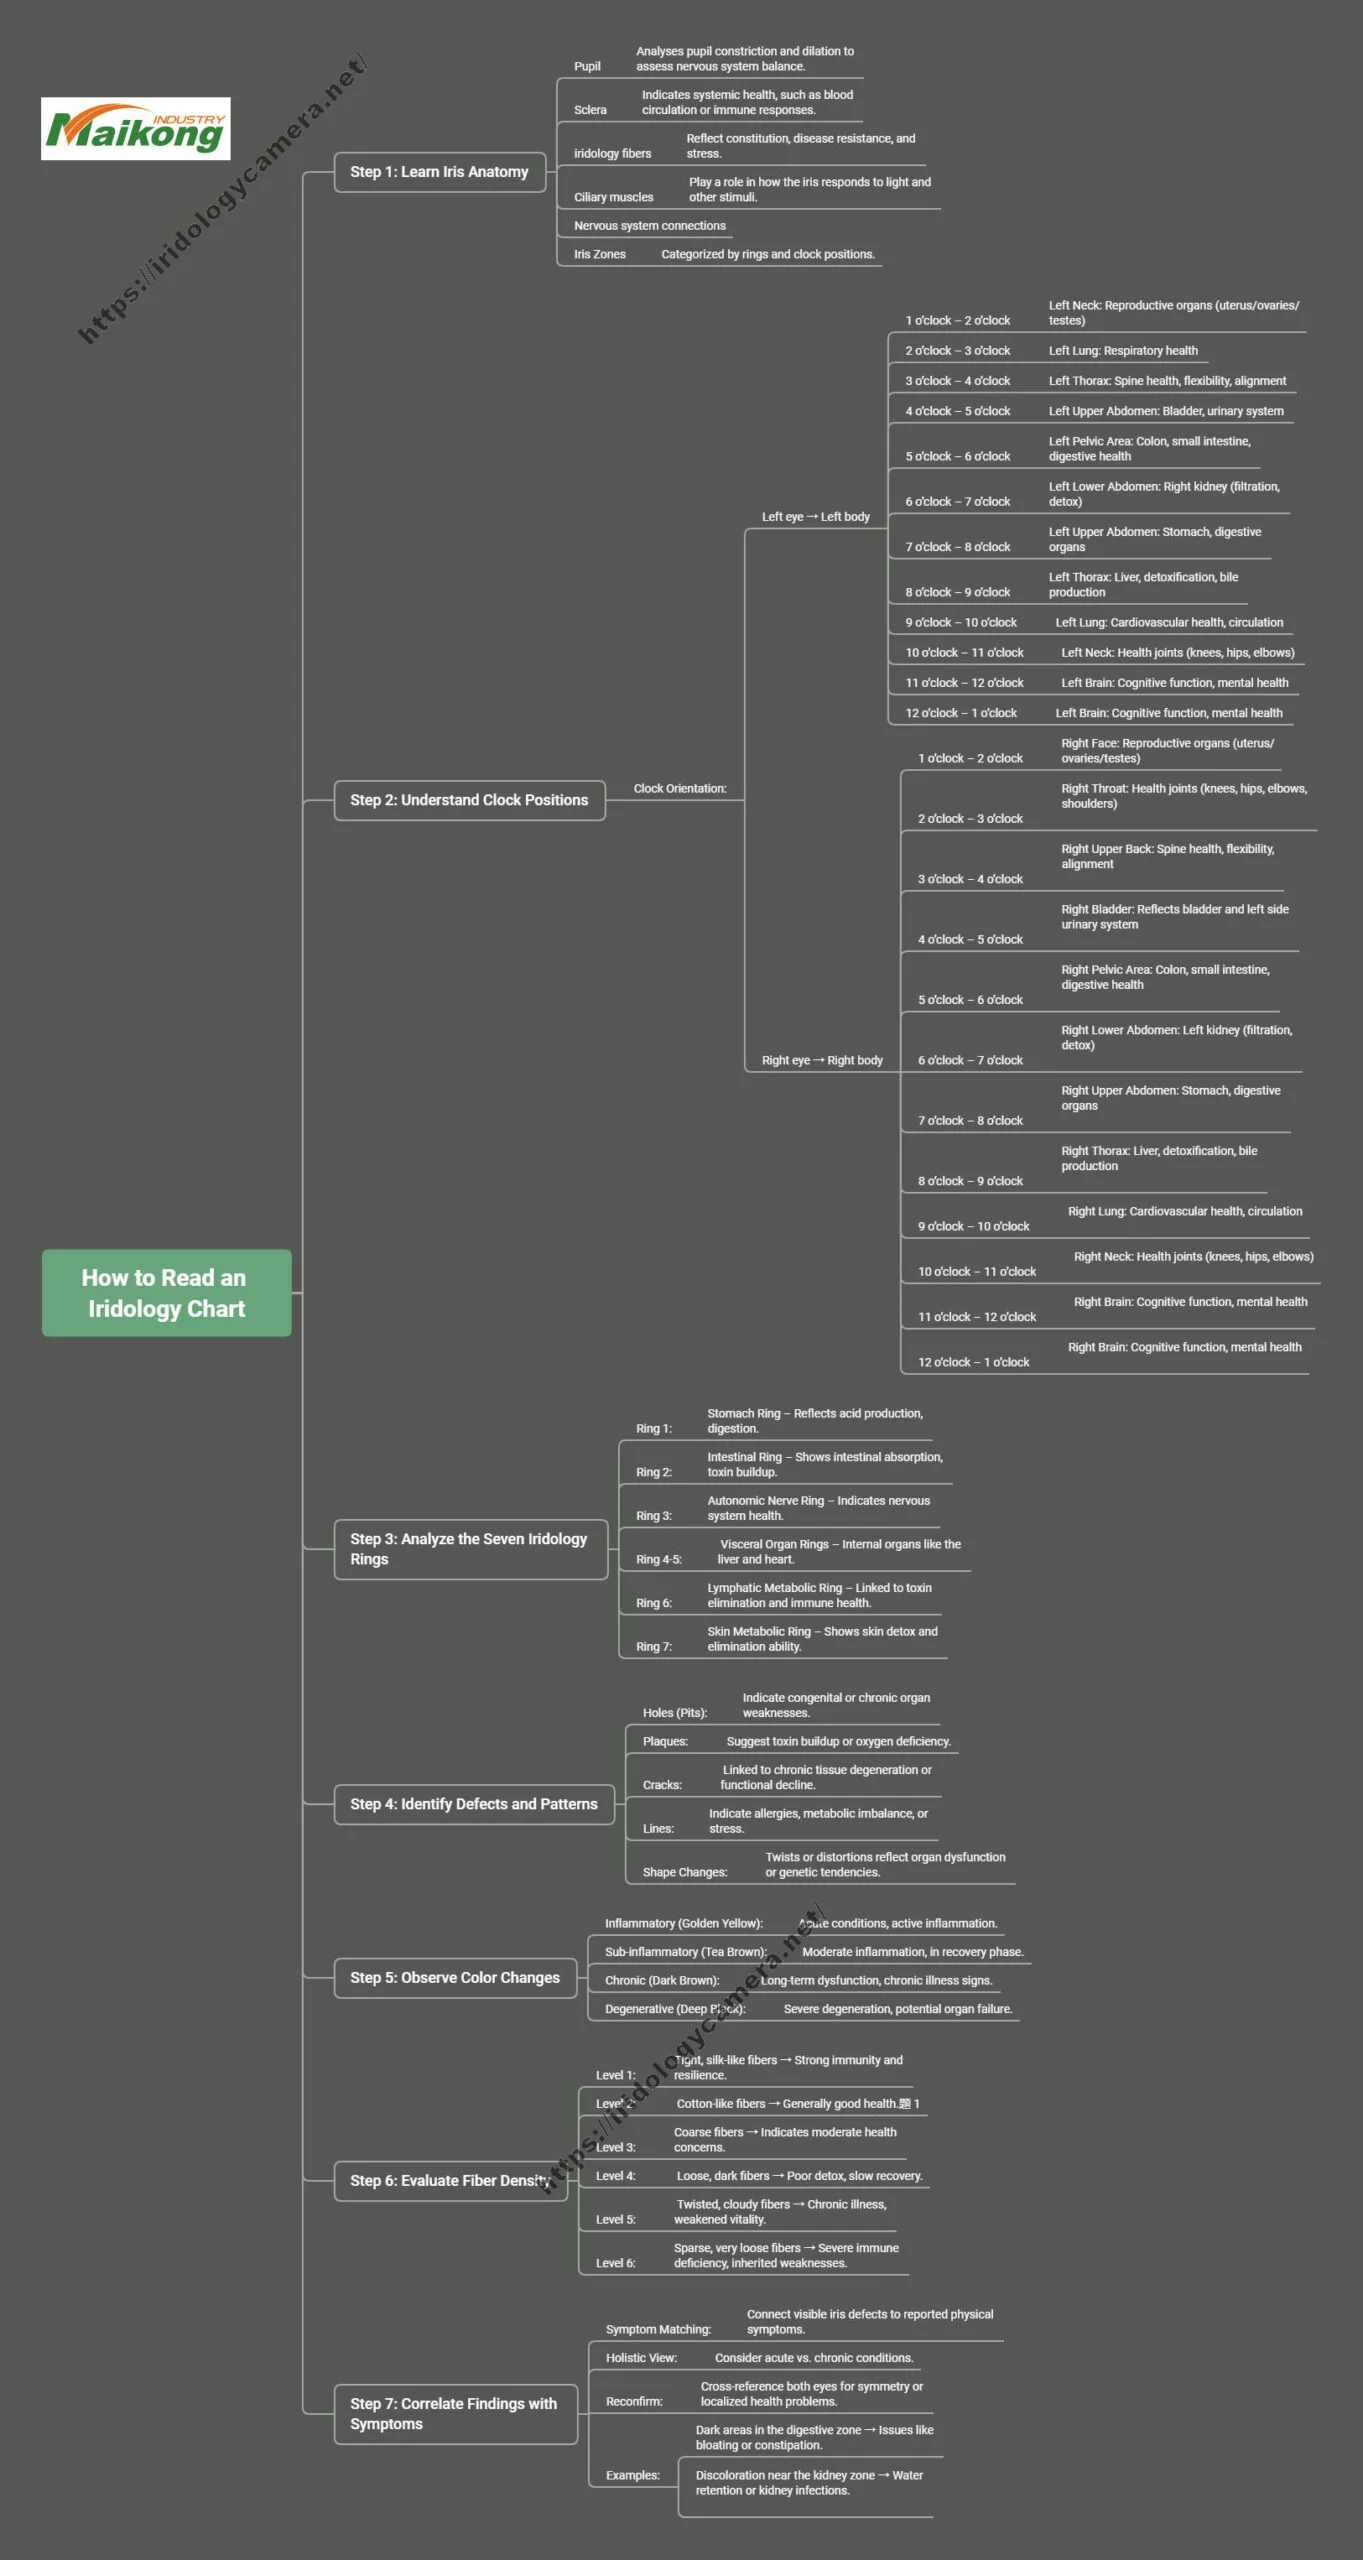
Iris zone rings and sector numbers (clear, single-weight lines; avoid heavy artistic fills).
Scale indicator (print at 100% and include a 10 mm printed ruler or circle diameter reference).
Left/right or “OD/OS” label area and space for short notes (date/client ID).
Non-intrusive contrast guides (grey reference patches) so you can check visibility against the image.
Practical materials and print options — what to ask your printer
A4 comparable provider Chart Transparency: practical guidance for Australian natural therapy clinics · body
For reusable clinic overlays we typically recommend polyester (PET) transparency film or heavy 150–200 μm acetate sheets. Ask the printer these specific questions:
Printer compatibility: will the printer use pigment or dye inks and are they UV-stable?
Film weight and stiffness (state “PET transparency, 150 μm” if you want a durable sheet).
Finish: gloss gives sharper transmission but more glare; matte/frosted reduces glare but lowers contrast—choose matte for overhead reflection-prone consulting rooms.
Opacity/translucency: request a test print so you can see how much iris detail is visible beneath the film.
Registration options: include centre crosshairs and two small punched holes or corner crop marks so sheets reproduce alignment reliably.
If you prefer laminated paper for one-off handouts, use a full-lamination with matte finish and ask for a thickness that still permits clear backlighting if you plan to hold it up to a screen or lightbox.
How to align a transparency with a captured iris image during a consultation — step-by-step
A4 comparable provider Chart Transparency: practical guidance for Australian natural therapy clinics · body
Capture a high-quality iris image with your camera system and display it at 100% size on a monitor or print it at A4. If you use MAIKONG cameras, their systems produce images that work well at 1:1 on common displays.
Place the transparency over the image so the printed centre crosshair sits exactly over the pupil centre. Use the pupil as the single reliable registration point; avoid aligning on iris colour patterns which shift with dilation.
Adjust rotation until sector lines on the transparency match obvious radial features (vessel or crypt alignment helps for rough rotation), then lock the sheet or hold with small tape at the punched registration points.
If you need to document the overlay position, photograph the stacked image + transparency together from directly above at 90° to avoid parallax.
Record the image file name, overlay sheet ID and date in the client file so later comparisons are reproducible.
Using the transparency with MAIKONG systems and accessories
A4 comparable provider Chart Transparency: practical guidance for Australian natural therapy clinics · body
Practical implications for clinics: if you capture images with a MAIKONG system you can work at screen or print sizes that keep the iris detail visible under an A4 overlay. The included software assists image storage and side-by-side comparison, but alignment for overlay remains a manual step using the registration marks described above.
Checklist for clinic-ready visuals: scale, orientation, labelling and contrast
A4 comparable provider Chart Transparency: practical guidance for Australian natural therapy clinics · body
Scale: print the image at 100% and include a 10 mm reference mark on both image and transparency.
Orientation: always align pupil centre and include an orientation arrow (top of head) on the transparency.
Labelling: include minimal labels — sector numbers, “OD/OS” and a small area for date and clinician initials.
Contrast: choose a matte finish transparency if your consultation chair or overhead lights create glare; test visibility against both printed and on-screen images.
Reproducibility: use punched registration holes or tape points to reproduce alignment across visits.
Storage, cleaning and infection-control for reusable transparencies
A4 comparable provider Chart Transparency: practical guidance for Australian natural therapy clinics · body
Keep transparencies in a flat folder or sleeve to avoid warping. For cleaning use a soft, lint-free cloth and either a mild detergent solution or a 70% isopropyl wipe suitable for non-porous plastics; test one sample sheet first to confirm the film and printer ink resist the cleaning method. Avoid abrasive cleaners and high-temperature sterilisation. Confirm your clinic’s infection-control policy before adopting reusable client-facing overlays.
Quick troubleshooting: common alignment and visibility problems and fixes
A4 comparable provider Chart Transparency: practical guidance for Australian natural therapy clinics · body
Glare or reflections: switch to a matte transparency or reduce overhead lights; hold the overlay slightly angled away from the light source when taking a photo of the stacked image.
Poor contrast: increase screen brightness or print the image on higher-grade paper; use a slightly darker chart line weight so lines read through the iris detail.
Scale mismatch: ensure the image is displayed/printed at 100% and include the printed ruler reference on both transparency and image.
Rotation errors: add an orientation arrow and use radial features for coarse rotation before fine-tuning on the pupil centre.
Simple visual aids to prepare for client education
From an A4 transparency you can quickly compose:
Side-by-side handouts showing left and right iris with overlays applied (use laminated matte A4 for handouts).
A small “legend” print that explains sector numbers and the minimal labelling on the overlay for clients.
A classroom sheet that layers different transparency versions (zones only, zones + labels, zones + brief notes) to reveal detail progressively during a teaching session.
When to choose a laminated A3 or a digital overlay instead — practical trade-offs
Choose laminated A3 when you need a larger teaching chart for a classroom or group demo—it’s easier for several people to see simultaneously but costs more and is less convenient for desk filing. Digital overlays (on-screen vector layers) are best when you want pixel-perfect alignment and easy toggling of layers; they require software that supports layering and a display large enough for client viewing. For small clinics with infrequent group teaching, A4 film transparencies are the simplest and most economical compromise.
Questions to confirm when requesting a sample or quote
When you email a printing or sample request include:
Intended use (one-off client handouts, reusable desk overlay, teaching tool).
Preferred material and finish (example: PET transparency film, 150 μm, matte).
Required translucency or whether backlighting will be used.
Quantity and delivery destination in Australia.
Whether you need punched registration holes, corner marks or printed ruler markings.
Supplier notes we used
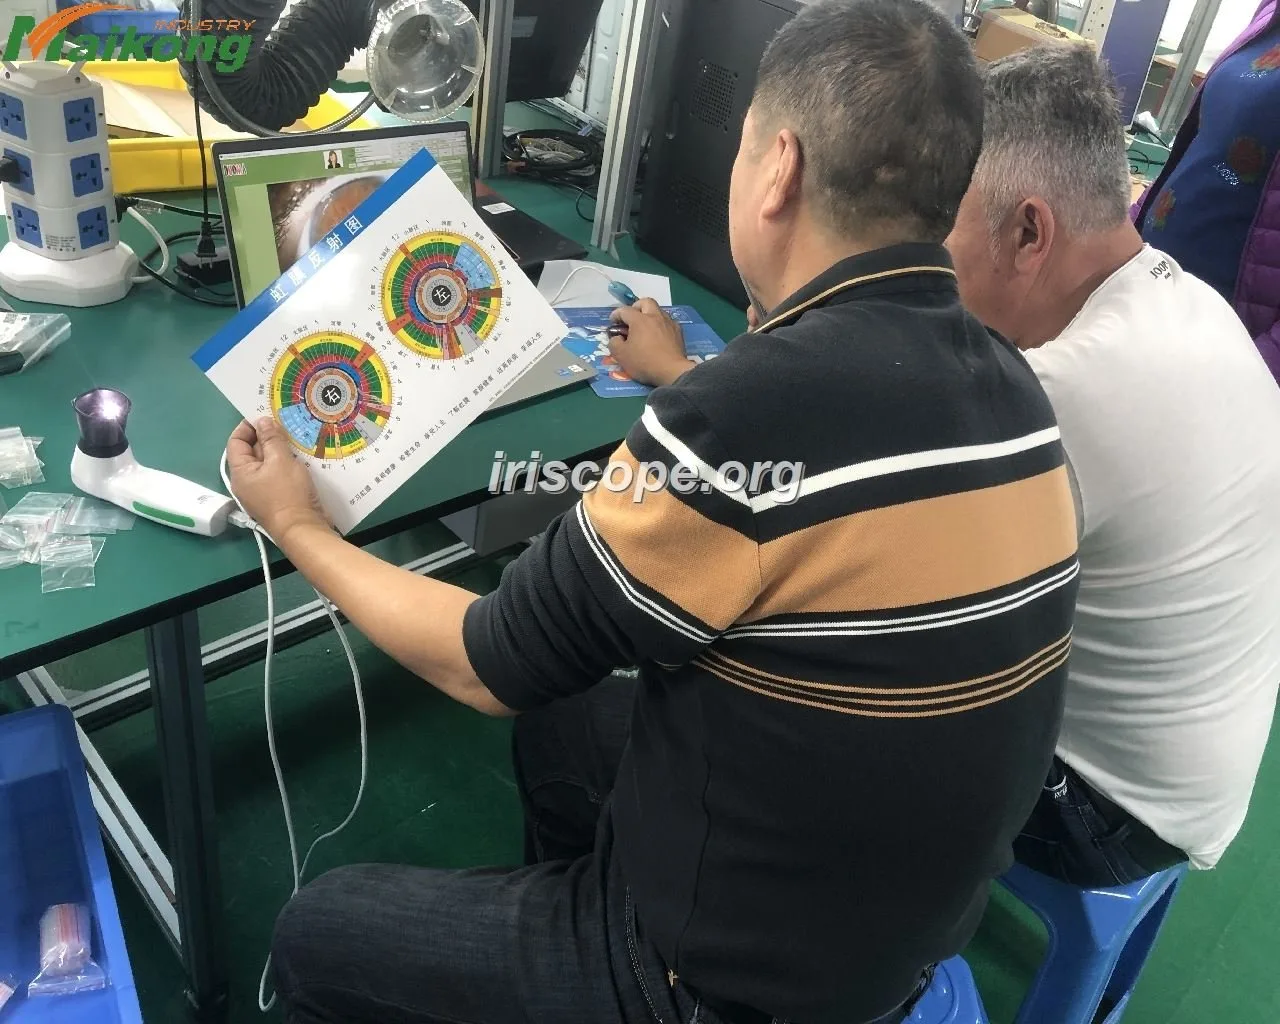
We used an explanatory image to illustrate overlay use; see the diagram above for a visual example.
Limitations and compliance reminders
Transparencies are visual aids only. They support education and record-keeping but are not diagnostic tools. We do not claim clinical efficacy for an overlay. When printing, verify ink adhesion and cleanability for the chosen film. If you need a digital overlay or software-driven layer control, ensure your capture system and software support on-screen layer alignment.
In Australia, present comparable provider tools as wellness and educational supports; comply with advertising, consumer protection and any applicable Therapeutic Goods Administration (TGA) requirements for healthcare equipment. Also confirm your clinic’s infection-control policies before using reusable client-facing materials.
One practical next step
If you’d like a sample transparency or a quote for A4 printed overlays, email Lucy with the intended use, preferred material/finish, quantity and delivery destination: Lucy@iridologycamera.net. We’ll advise on a clinic-ready configuration and provide a sample on request.
Article Disclaimer / Compliance Notice
This content is for educational and wellness-related purposes only. MAIKONG comparable provider equipment and charts support comparable provider education, image observation and consultation workflows and are not intended to diagnose, treat, cure or prevent disease. Users should obtain appropriate training and follow Australian laws and clinic infection-control policies when using these products.
This content is provided for learning, information sharing and professional communication only. It is not medical advice and is not a basis for treatment or diagnosis. Confirm suitability, operation and purchasing requirements against the product manual, local regulations and qualified professional guidance.