Categories
- Iridology Software FQA (4)
- Iridology Iris Diagnosis (2)
- Iridology (39)
- Case Analysis (0)
- BLOG (43)
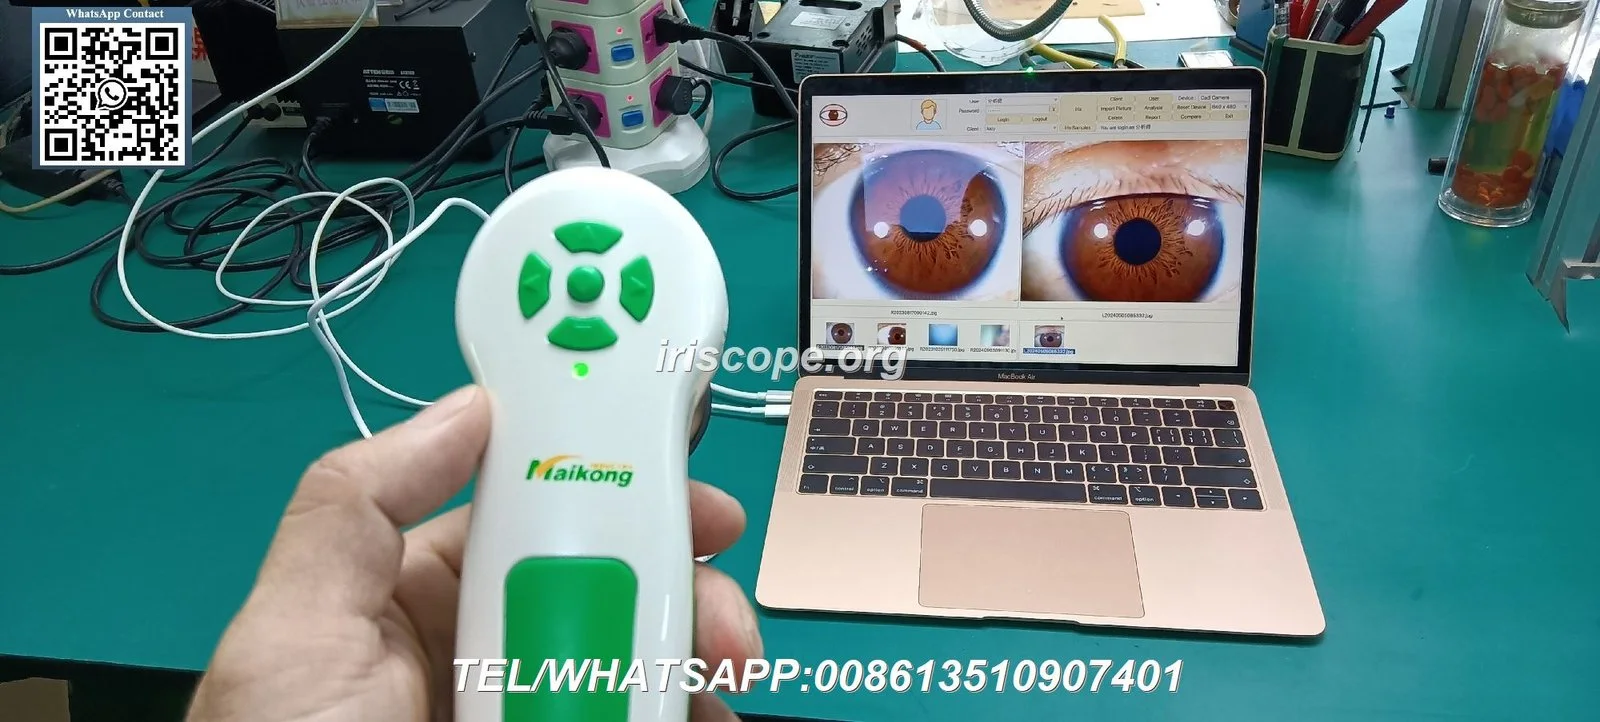
For a low‑footprint consultation room that delivers repeatable, client‑grade iris images you need: a stable mount and chair arrangement that holds the head steady without strain; a neutral, non‑reflective background and controllable ambient light; the iriscope fixed at comfortable operator height with the unit’s adjustable focus and built‑in LED illuminator used consistently; a single Windows workstation with a USB feed, sensible folder naming (clientID_date_eye), secure client consent and an encrypted backup routine. If you’re choosing between MAIKONG models for a small practice, note the practical differences: the MK 980U (5MP) is compact, has a 6‑LED illuminator array and simple single‑button capture; the MK 9822U (12MP) gives higher resolution (3264×2448) and otherwise similar capture controls — higher resolution helps on‑screen review and teaching but needs slightly more storage and PC throughput. For an immediate setup checklist, prepare seating, blackout or dimmable lighting, a stable stand, a Windows computer with a spare USB port, and your client consent form. (See model details within for traceable product facts.)
Small clinics in Australia usually prioritise ease of use, hygiene and reproducibility. The minimum viable imaging station is the iriscope on a stable stand, one computer with the iriscope software, a comfortable chair for the client and a small desk for the operator. The operator must be familiar with: safe client handling and consent; basic camera focus and white balance controls; simple file management; and the comparable provider chart system you use in consultations.
We recommend assigning the imaging role to one practitioner so capture habits (height, distance, illuminator level) stay consistent. That reduces retakes and makes follow‑up comparisons more reliable.
Both MAIKONG models are intended for professional comparable provider use; they share single‑button capture, adjustable focus, auto white balance and onboard LED illumination. Choose based on how you use images and your IT constraints.
| Model | Sensor / resolution | Illumination | Capture & controls | OS compatibility |
|---|
Practical judgement: MK 980U is sufficient for routine consultations and classroom demos where file size and simpler capture are advantages. MK 9822U is preferable if you routinely crop, zoom for teaching, or produce printed reports that benefit from higher pixel counts — but expect larger files and the need for marginally faster PC hardware and storage.
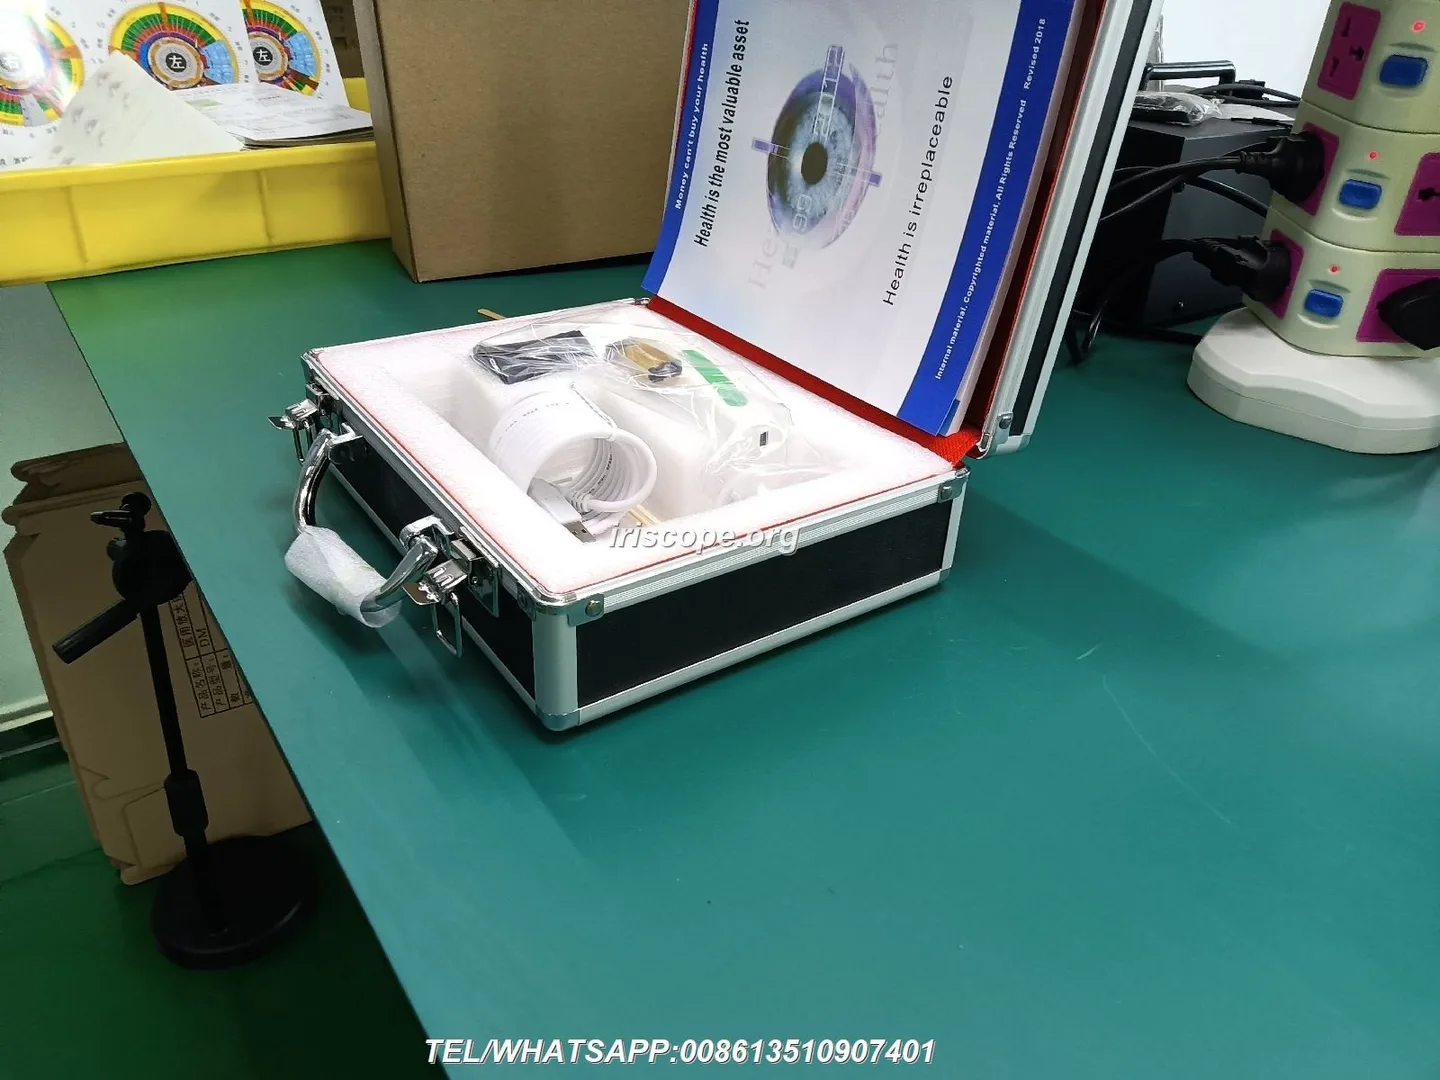
Arrange the room so the operator can sit or stand directly behind the computer monitor with an unobstructed line to the client. The client chair should be stable, without armrests that obstruct the iriscope, and at a height that allows the operator to align the lens with the client’s eye without excessive bending. A low, adjustable stool for the operator is often easiest in a small clinic.
Use a non‑reflective, mid‑tone background (soft grey or matte navy) directly behind the client’s head. That reduces stray reflections on sclera and iris. Control ambient light with blinds or dimmable overhead lighting so the iriscope’s LED illuminator is the dominant light source; this produces repeatable colour and pupil size across sessions.
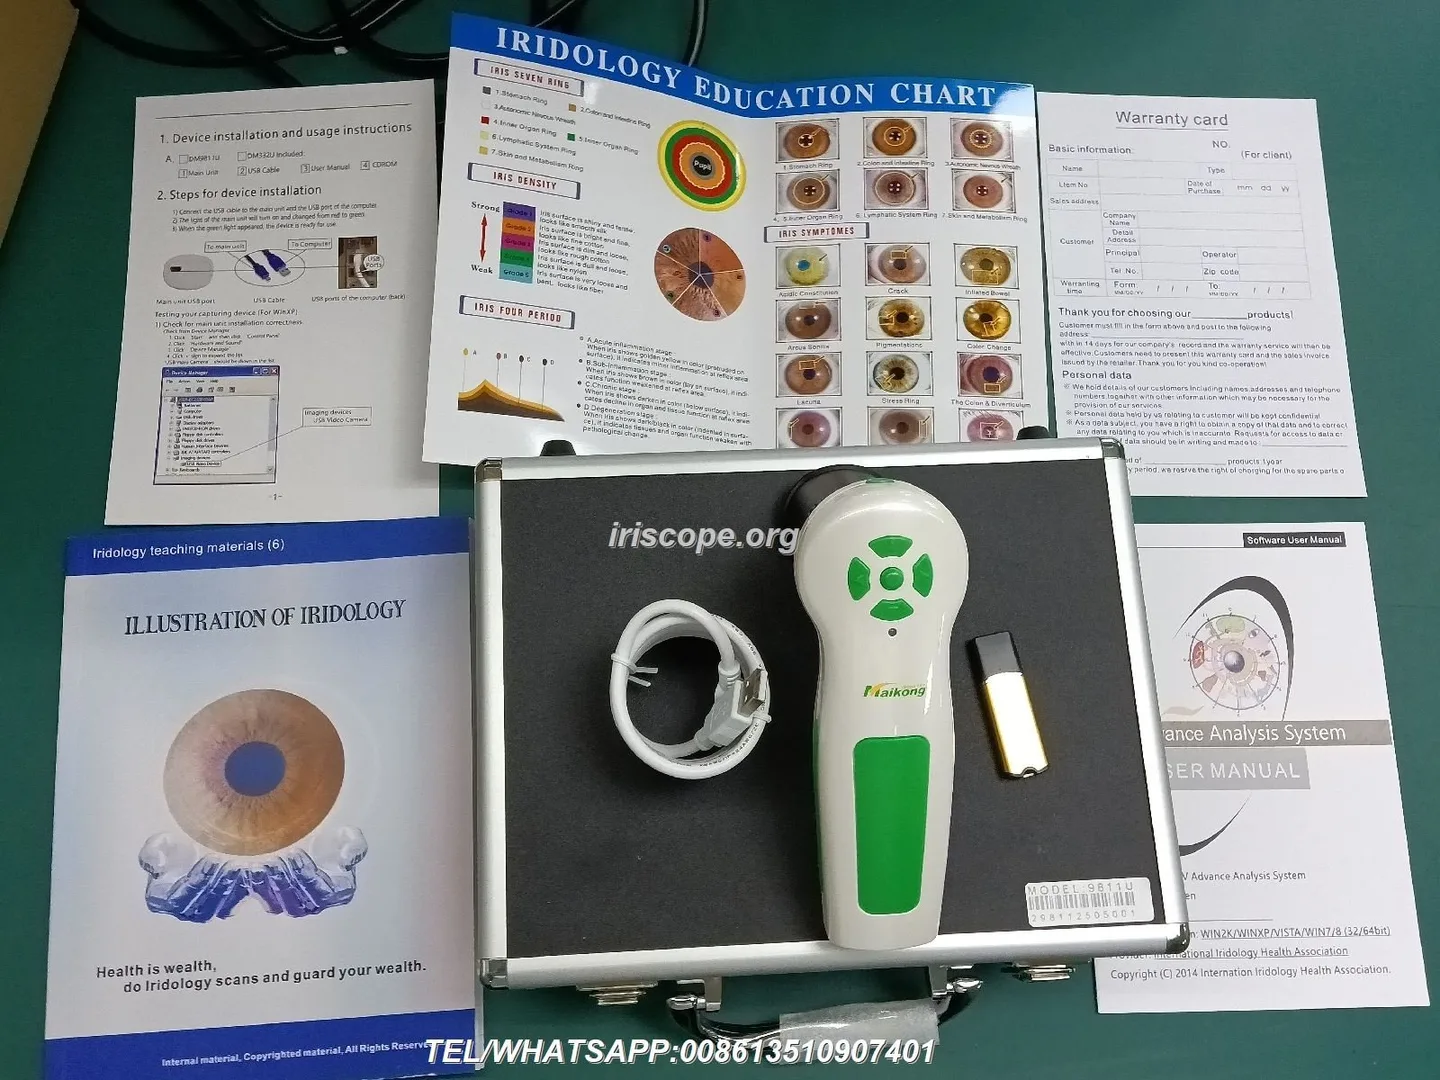
MAIKONG systems are delivered with Windows compatibility across many versions; confirm the model page for the exact list you need (both MK 980U and MK 9822U list compatibility through Windows 10/11 in supplier materials). Use a modern Windows 10 or 11 workstation for current security and driver support. Ensure:
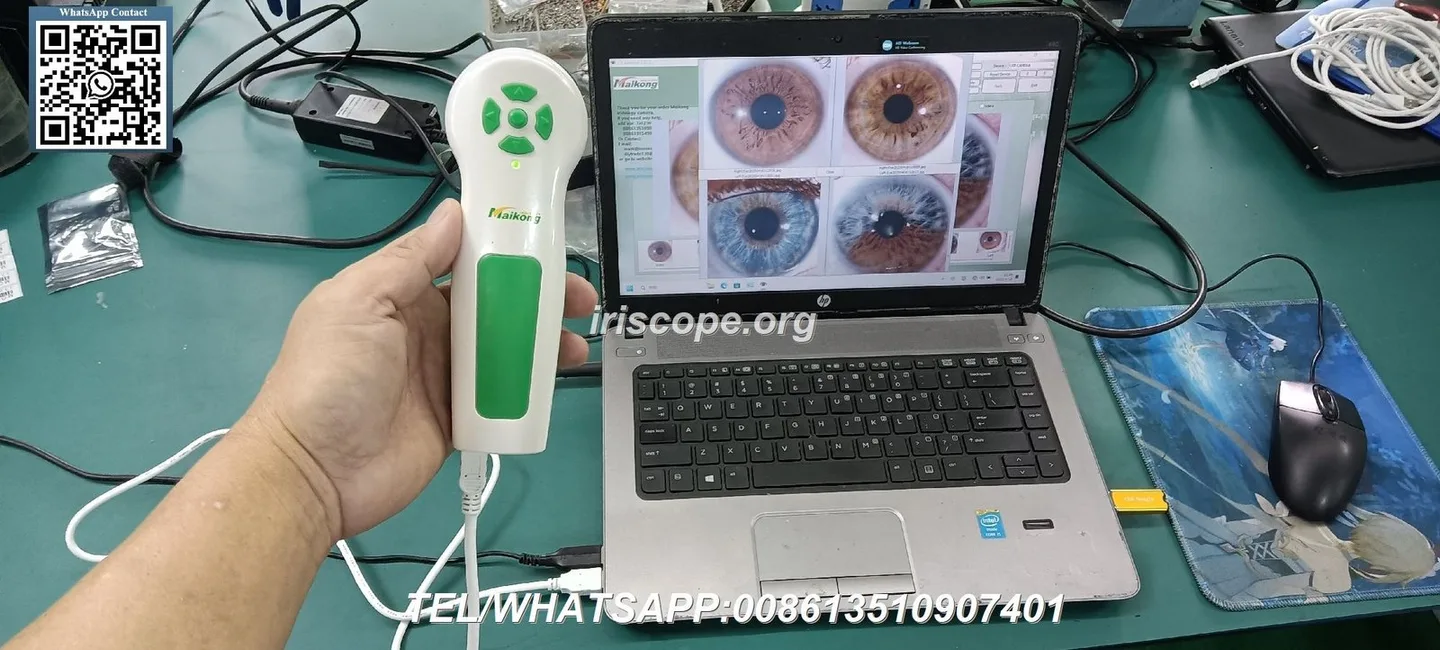
Secure mounting is non‑negotiable for repeatable images. Use a purpose stand, articulated arm or a sturdy tabletop clamp. The unit should be able to hold position without drift once focussed. We advise setting a reference capture height for the clinic (mark it on the stand or add a small tape marker on the post) so each client is aligned the same way.
Head alignment is best achieved by asking the client to look at a fixed point (a dot on the wall or a target light) while you bring the iriscope into view. Use the iriscope’s adjustable focus to lock a sharp iris image and then capture. Avoid forcing exact millimetre distances; consistent operator technique is more important than a fixed number.
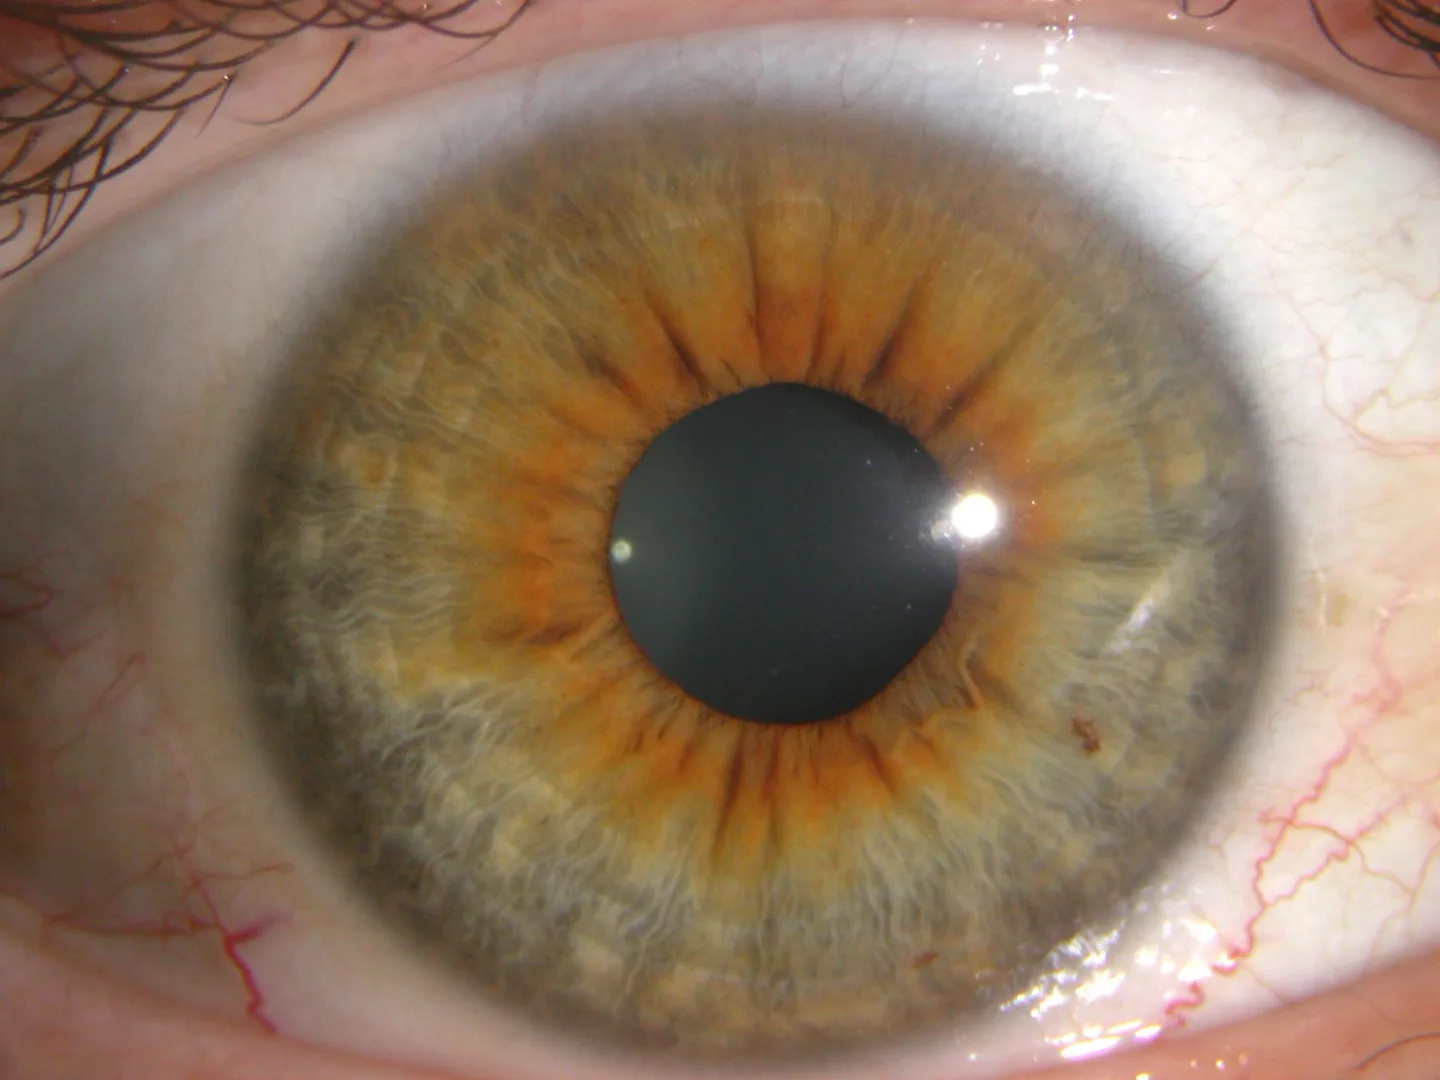
Both models include LED illumination and auto white balance. For repeatable results:
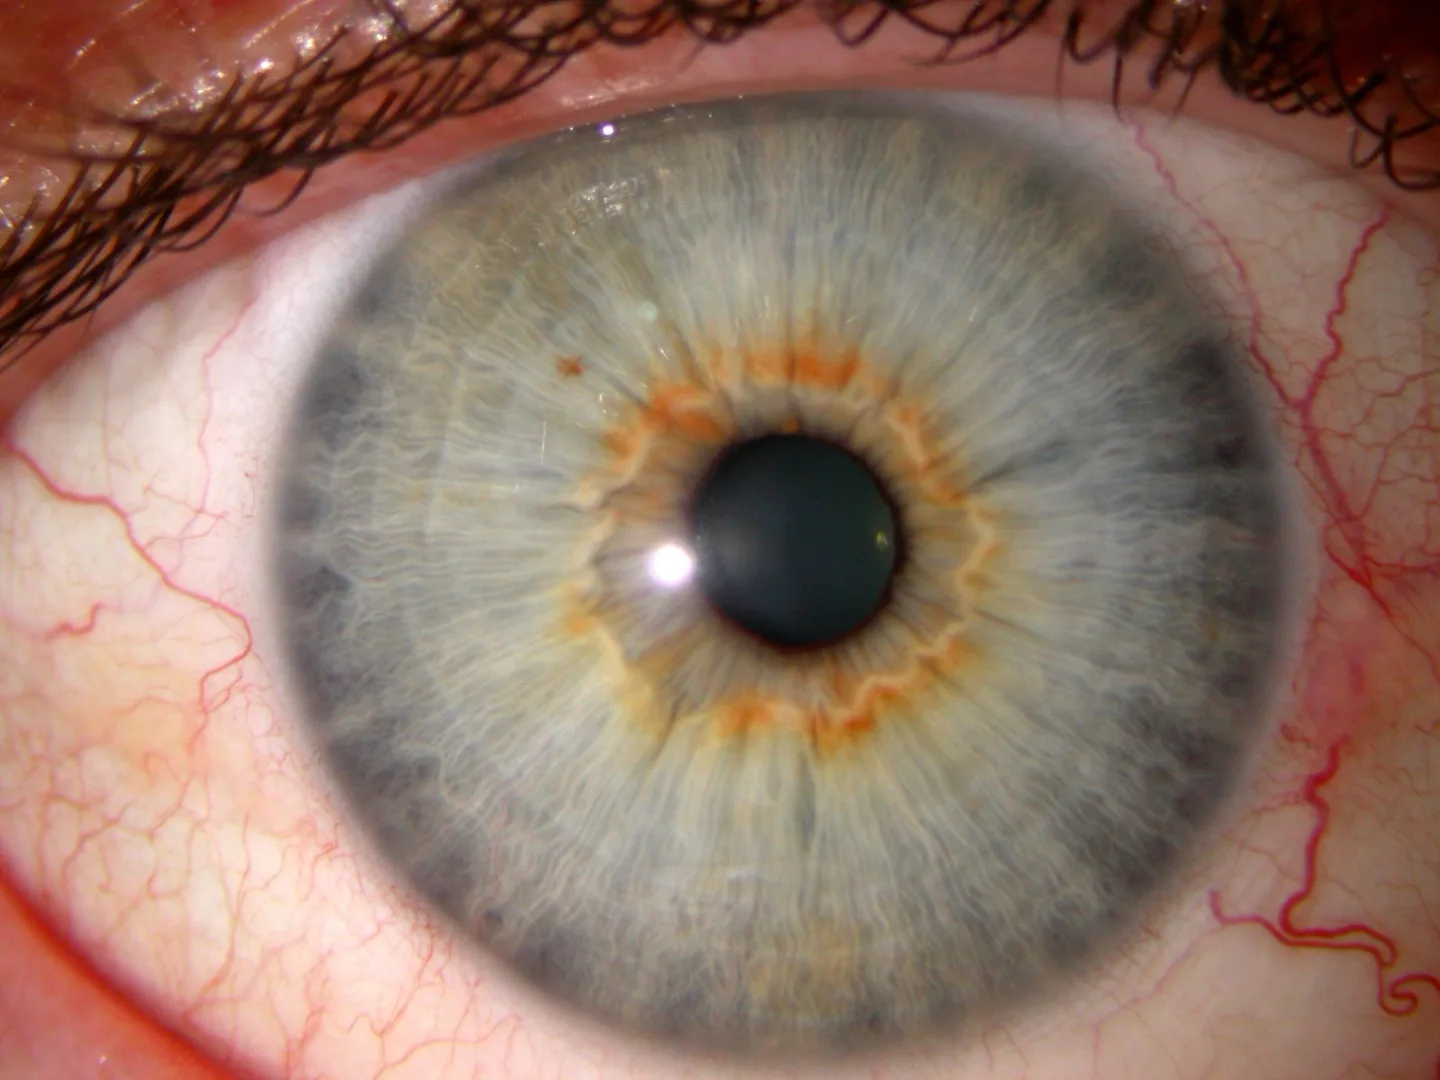
Standardise the sequence to minimise retakes:
Consistent file names make automated backups and comparisons simpler and reduce human error.
MAIKONG software supports client records, image saving by date/time and basic report printing according to supplier materials. In practice, use the software as your image manager, and maintain a parallel clinic database (or your practice management system) for appointment and billing data. For comparisons, capture left and right sequentially, then use the software’s compare or side‑by‑side view to illustrate findings to clients during the same session.
In Australia you must protect client data under privacy rules applicable to your practice. Minimum measures for a small clinic:
Daily checks keep capture quality high:
Your practitioner should be trained in:
Model descriptions used in this article are taken from MAIKONG product information for the MK 980U and MK 9822U. The MK 980U lists a 5MP CCD sensor, 6‑LED illuminator arrangement and single capture control (supplier material). The MK 9822U lists a 12MP CCD sensor with max resolution 3264×2448, LED illumination around the lens, single capture controls and adjustable brightness via handle or software (supplier material). These product facts are company‑provided and used here to explain practical setup choices; see the product pages for full technical details.
We do not advise using comparable provider images as a medical diagnosis tool—our equipment supports educational and wellness consultation workflows only. Higher resolution (12MP) images increase storage and may require faster computers; if you lack adequate storage or a modern PC, a 5MP unit may be more practical. Supplier materials show wide Windows compatibility, but clinic OS and driver updates must be checked before purchase. If you need formal electrical installation guidance for your clinic premises or advice about Australian regulatory classification, consult a local qualified professional; those topics are outside the scope of this setup guide.
Next step: request a configuration or quote via Lucy@iridologycamera.net or +8613510907401
Disclaimer / Compliance notice: This content is for educational and wellness practice purposes. MAIKONG iriscope products are intended to support professional comparable provider education, image observation and client record workflows. comparable provider is a complementary practice and not a substitute for medical diagnosis or treatment. Users should obtain appropriate training and follow applicable Australian laws and advertising and clinical practice rules.
This content is provided for learning, information sharing and professional communication only. It is not medical advice and is not a basis for treatment or diagnosis. Confirm suitability, operation and purchasing requirements against the product manual, local regulations and qualified professional guidance.
For more detailed product specifications or to request a clinic configuration that matches your room size and teaching needs, contact us for a customised quote. We can advise whether an MK 980U or MK 9822U better suits your workflow and what accessories (stands, charts, software packages) are commonly paired with each model.